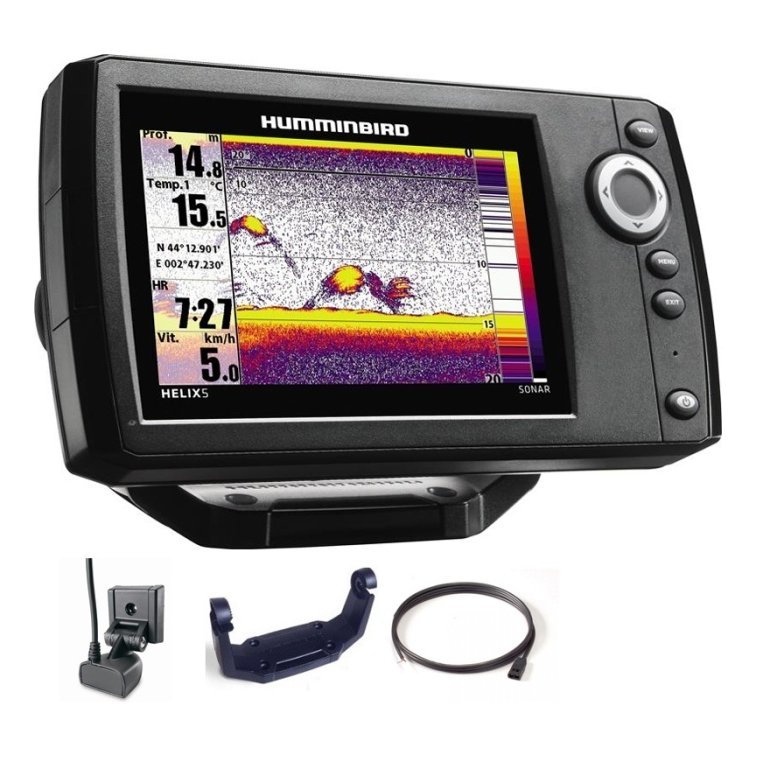
A good marine electronics setup guide starts with an idea that surprises many boaters: the best systems are planned as a whole, not assembled one gadget at a time. Fish finders, GPS chartplotters, action cameras, radios and lights all compete for the same battery, the same console space and the same cable routes. When each piece is bought and fitted in isolation, you end up with crowded dashboards, noisy sonar and wiring that nobody can trace. This guide shows how to plan a complete setup, from deciding what you need through power, mounting, installation and testing, so everything works together reliably on the water.
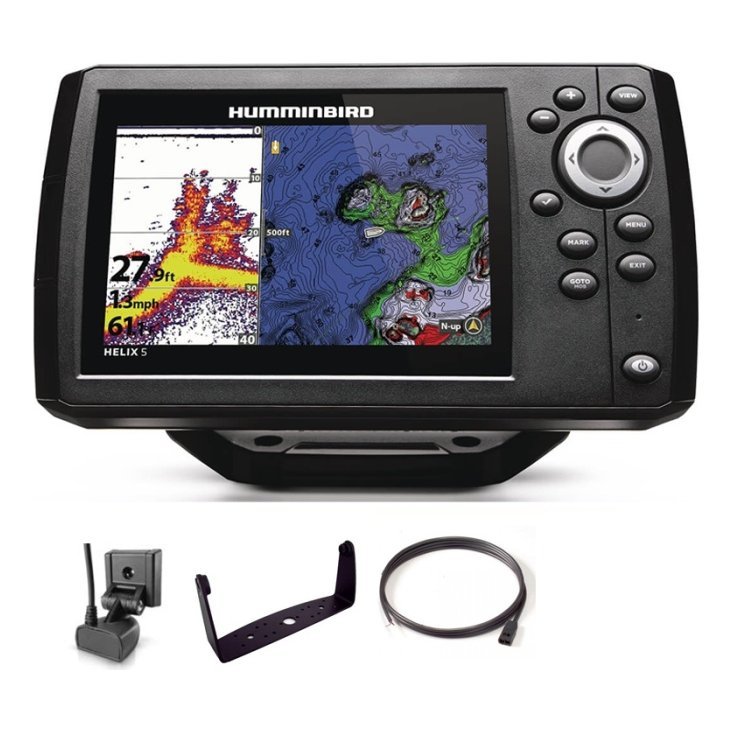
Marine electronics setup guide: start with how you use the boat
Every setup begins with a simple question: what do you do on the water? A weekend angler on a small lake needs something quite different from a coastal boater who runs long distances and fishes offshore.
Fishing style
Trolling, drifting, anchoring and casting from a trolling motor each prefer different features. Anglers who target structure value imaging sonar, while those who troll care about speed and tracks from GPS.
Water and distance
Small, familiar lakes need simple depth and temperature information. Large lakes, rivers and coastal water add navigation, charts and safety needs. Our guide to offshore fishing electronics describes the bigger picture.
Who rides with you
Boating with family and children adds safety priorities such as alarms, lights and communication. See our guide to fishing with kids.
Decide what your system needs
List the jobs your electronics must do before you choose any product.
Sonar and fish finding
This is the core tool for most anglers. Choose sonar types that match your water, such as CHIRP for fish and imaging for structure.
Navigation and GPS
GPS gives position, waypoints and routes. A fish finder with GPS combines it with sonar, while a separate chartplotter gives more screen space on larger boats.
Communication and safety
A VHF radio, navigation lights and an anchor alarm contribute to safety. Read our VHF radio basics and navigation lights guide.
Video and photography
Many anglers like to record trips. A GoPro or other action camera needs mounts, power and storage. See our GoPro boat mount guide.
Choose a power plan first
Power is the foundation. A weak or noisy supply causes more electronics problems than any faulty unit.
Battery capacity
Add up what your devices draw and choose a battery that can handle a full day plus a safety margin. Lithium batteries are light and efficient, while lead-acid is cheaper and widely used.
Separate batteries
A dedicated electronics battery protects against starter surges and keeps sonar cleaner. Many boats use a small house battery for this.
Fusing and switches
Every power feed needs a fuse close to the battery. A master switch lets you isolate the system when the boat is stored.
Grounding
A good common ground reduces noise and corrosion. Our guide to boat wiring basics explains how to ground your system correctly.
Plan the layout of the console
Space is limited, so decide where each device goes before you drill.
Primary display position
Place your main screen where you can see it from the driving position without leaning. If you use more than one screen, keep them level and aligned.
Controls within reach
Keep keys, knobs and switches where you can reach them in rough water. Avoid putting essential controls behind other equipment.
Glare and spray
Tilt and position screens to avoid direct sun and spray. A small visor can improve readability.
Mounts and brackets
Pick mounts that suit your console material and allow adjustment. Our fish finder mount guide compares your options.
Pick and place the transducers
Transducers are the eyes of the system, so position them with care.
Transom or trolling motor
Many small boats use a transom transducer, and some anglers add a second on the trolling motor. Our transducer guide explains the details.
Keep cable runs short
Short, clean cable routes reduce interference and make troubleshooting easier.
Separate noisy sources
Keep transducer cables away from ignition wiring and power cables whenever possible.
Install in a logical order
A planned sequence saves rework.
Step one: mount displays and brackets
Fixing positions first sets cable lengths and prevents surprises.
Step two: run power
Install batteries, fuses and switches. Test voltage at the display before connecting it.
Step three: install transducers and antennas
Mount transducers, GPS antennas and any other external sensors. Keep antennas clear of metal and canopies.
Step four: connect and label
Connect each device and label both ends of each cable. Labels make future changes far easier.
Step five: test on the water
Run the boat at idle and at speed and check every device. Our fish finder installation guide details testing.
Networking and compatibility
Connecting devices unlocks features, but only if they are compatible.
Check connectors and protocols
Different brands use different network connectors. Check before assuming that two devices will communicate.
Share data wisely
Sharing sonar and maps between screens is convenient, but it may require a network hub and additional cables.
Avoid unnecessary complexity
Add networking only when you will genuinely use it. Simpler systems are easier to maintain.
Budget the whole system
Do not budget for the display alone. Include transducers, mounts, wiring, batteries, fuses, charts and any installation help. Our marine electronics budget guide shows how to divide a budget across components.
Prioritise the essentials
Spend first on the sonar and power system, then add GPS, charts and extras as your needs and experience grow.
Maintain your setup
A system that is maintained keeps working.
- Rinse electronics with fresh water after use in salt.
- Inspect connectors and cables for corrosion and chafing.
- Update software and charts each season.
- Check battery health and charge levels.
- Keep a simple log of changes and settings.
See our guide to marine electronics maintenance for a full routine.

A sample setup for three common boats
Examples make the principles concrete. These are starting points rather than prescriptions, so adjust them for your own boat and water.
A small jon boat on a lake
A compact fish finder with GPS and a transom transducer, a small dedicated battery and a simple fused feed make a complete, affordable system. Add a waterproof action camera if you like to record your catches. See our jon boat guide.
A bass boat
A large screen at the console, a second at the bow, transom and trolling motor transducers, a networked pair of displays and a lithium house battery suit tournament use. Our bass boat electronics guide goes through the steps.
A pontoon or family boat
A medium screen with sonar and charts, a VHF radio, navigation lights and an anchor alarm cover fishing, navigation and safety. See our pontoon guide.
Common setup mistakes to avoid
Most problems come from rushed planning. Buying displays before deciding where they fit, sharing a battery with the starter, skipping fuses and running power cables beside signal cables all cause trouble later. Another frequent error is neglecting future growth, such as leaving no room on the console for a second screen. Plan a little slack in cables, space and power so that upgrades are easy rather than painful, and your setup will serve you well for years.
Upgrading an existing setup
Not everyone starts from scratch. If you already own some electronics, audit what you have before buying more. Check which devices still work well, which are limited by age or poor mounting and which jobs are not covered at all. Often the biggest improvement comes from fixing the basics, such as cleaning up the power feed or relocating a transducer, rather than replacing a screen. When you do upgrade, change one major component at a time so you can test it properly and keep track of any new issues. Keep the old display as a backup if it still works, because a spare screen is cheap insurance on a long day.
Frequently asked questions
What should I buy first for my boat?
Start with a fish finder or a fish finder with GPS and a sound power setup. Add other equipment later.
Do I need professional installation?
Many anglers install their own equipment, but complex networks and hull work may benefit from professional help.
Can I mix brands?
Yes, but check connectors, protocols and software compatibility.
How do I avoid electrical noise?
Use clean power, good grounding and separate power and signal cables.
Bringing the plan together
A thoughtful marine electronics setup guide turns scattered purchases into a reliable system. Start with how you fish, plan power and layout, install in order and test thoroughly. Browse fish finders, GPS and action camera gear in our shop and contact us if you would like help planning the right system for your boat.
Related reading from Fishtrail Outfitters
- Marine Electronics Budget Guide: How to Spend Wisely on Your Boat Setup
- Kayak Fish Finder Guide: How to Choose and Mount One on a Kayak
- Fish Finder Chartplotter Combo: Is an All-in-One Unit Right for You?
- Marine Electronics for Small Boats: What You Need and What You Don’t
Products mentioned in this guide
- Fishfinder Furuno FCV 600
- Fishfinder Furuno FCV 800
- Lowrance Eagle 5 CHIRP Splitshot Gps Fishfinder + 455/800 KHz Transducer
Further reading: U.S. Coast Guard Navigation Center · Take Me Fishing: how to get started and where to fish
Questions before you buy? Contact Fishtrail Outfitters or browse the shop.