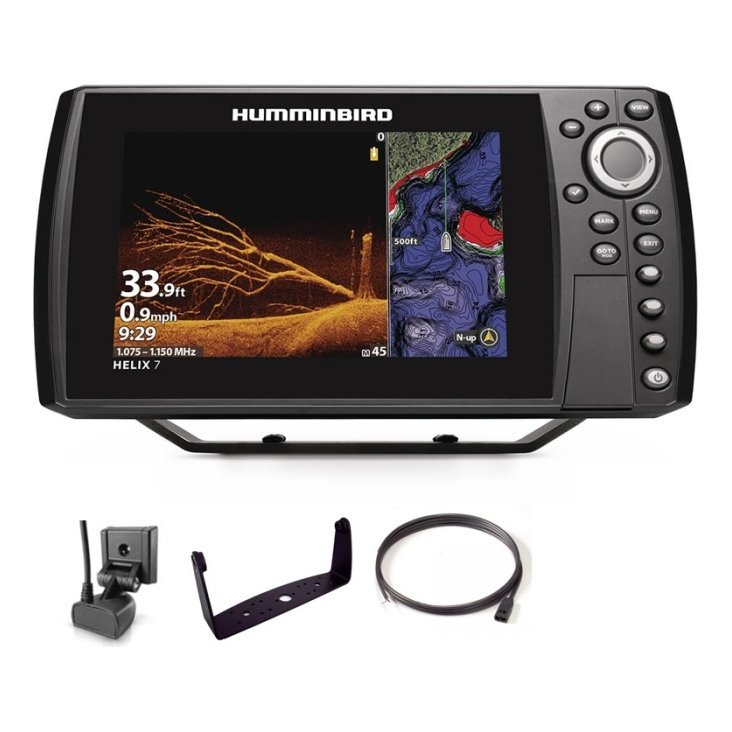
A fish finder mount might seem like a minor accessory, but it controls how readable, protected and convenient your screen is every trip. A mount that is too low forces you to look away from the water, one that is too exposed gets splashed and scratched, and one that is badly fixed vibrates or loosens. Anglers generally choose between three styles: a bracket mount that holds the display on a swivel, a flush mount that sits within a panel, and a portable mount that moves between boats. This guide compares them, explains what to measure, how to position the display for visibility and comfort, how to secure it against vibration and theft and how to match the mount to your boat.
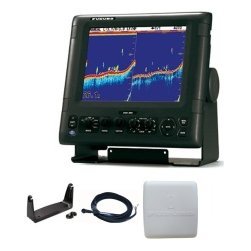
The main fish finder mount types
Bracket mounts
A bracket attaches to a console, gunwale or deck and holds the display on a swivel. It lets you tilt and rotate the screen, and you can remove the display for storage. It is the most common mount for small and mid-size boats.
Flush mounts
A flush mount sits the display into a cut-out in a panel, giving a clean, integrated look and good protection. It needs careful measuring and cutting and is less flexible once installed.
Portable mounts
Portable mounts, such as clamps, bases and pods, let you move the display between boats or stow it easily. They suit kayaks, rental boats and anglers with more than one craft. Our portable fish finder guide explains the options.
Compare the options
Flexibility
Bracket mounts offer the most adjustment, portable mounts the most mobility and flush mounts the least.
Protection
Flush mounts protect the display well, bracket mounts expose it somewhat and portable mounts depend on storage.
Installation effort
Brackets are simple, flush mounts need cutting and portable mounts need little installation.
Theft and storage
A bracket or portable mount lets you remove the display at the end of the day, which reduces theft risk and protects it from heat.
Choose by boat type
Kayaks
Use compact, low-profile mounts, with a swivel or a track-mounted base. See our kayak fish finder guide.
Jon boats and small boats
A bracket on the console or a clamp on a seat frame is common. See our jon boat guide.
Pontoons and larger boats
Flush mounts in the dash or a bracket on a rail both work. See our pontoon guide.
Bass boats
Larger boats often use flush mounts at the console and a pedestal or bracket at the bow. See our bass boat guide.
Position for visibility
Eye level and viewing angle
Place the screen where you can see it with a quick glance. Tilt it toward you and avoid extreme angles, which reduce visibility.
Reduce glare
Direct sun creates reflections. Tilt the display, add a visor or choose a position that is partly shaded.
Keep controls within reach
Buttons and touch areas must be reachable in rough water. Do not place the display behind a windscreen post.
Secure the mount
Use backing plates
Where you drill into thin material, use backing plates or large washers to spread the load.
Use the right hardware
Marine-grade stainless fasteners resist corrosion. Seal holes in the hull with marine sealant.
Check for vibration
After installing, run the boat and check the display for shake. Tighten or add damping as needed.
Protect the display
Covers and shields
A cover protects against sun and scratches when the boat is stored, and a visor reduces glare while you fish.
Spray and water
Keep the display above the splash zone, and check seals around cables.
Remove in storage
If you can, take the display home between trips. Our maintenance guide offers care tips.
Power and cables
Plan the cable run
Position the mount so cables reach without tension, and leave a service loop. See our boat wiring basics.
Keep power and transducer cables apart
This reduces noise. See our transducer guide.
Tidy cables
Use clips and ties to hold cables away from moving parts.
Common mistakes
- Mounting too low or too far from the helm.
- Skipping backing plates.
- Not testing for vibration.
- Forgetting glare.
- Cutting a flush-mount hole without checking the template.
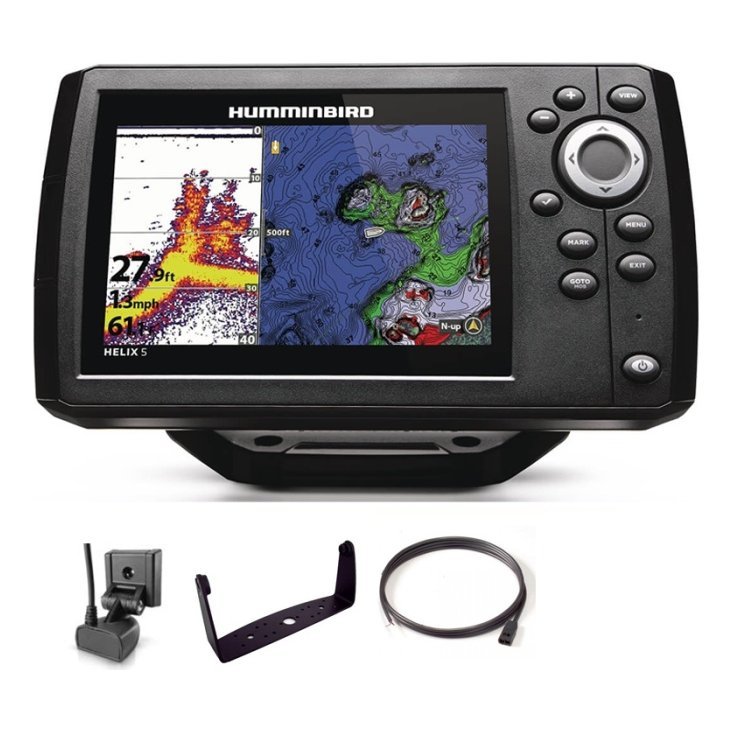
Step-by-step: installing a bracket mount
Start by deciding on the position, holding the bracket against the surface and sitting in your normal position to check visibility and reach. Mark the screw positions with a pencil, check behind the surface for wires or fuel lines, and drill pilot holes. Fit backing plates if the surface is thin, apply marine sealant to the screw threads and fasten the bracket firmly. Attach the display, run the cables with a service loop, and tighten the swivel. Finally, run the boat at speed and check for vibration. A fifteen-minute test now saves frustration later.
Planning a flush mount
Check the template supplied with the display, and measure the panel depth behind the cut-out to ensure there is room for the unit and cables. Mark carefully, cut slightly inside the line, and file to the final size. Test the fit before sealing and fastening. Ventilation behind the unit matters, so avoid enclosing it fully, and follow the manufacturer’s guidance.
A portable base for multiple boats
If you move a display between boats, standardise on one mounting base, such as a quick-release plate, and install a matching base on each boat. Keep a short power cable with each, so swapping takes minutes. Label the plugs and carry a small tool kit for adjustments.
Mounting accessories worth having
A few extras make mounting easier and the display safer. A small visor or sunshade cuts glare and extends screen life, a protective cover guards against scratches and UV, and a spare set of marine-grade fasteners saves a trip to the shop. Rubber washers and damping pads reduce vibration, and a tether or lock deters theft on boats left at a dock. None of these cost much, and each solves a common problem.
Frequently asked questions
Is a flush mount better than a bracket?
It looks neater and protects the display, but a bracket is more flexible and easier to install.
Can I mount a fish finder on a kayak?
Yes, with compact mounts designed for kayaks.
How high should I mount the display?
At a comfortable viewing height that lets you see the screen without taking your eyes far from the water.
Do I need a visor?
It helps in bright sun.
Choose a mount that works for you
The right fish finder mount keeps the display readable, protected and easy to use. Choose a style to suit your boat, position it carefully and secure it well. Browse fish finders and mounts in our shop and contact us for advice on matching a mount to your boat.
Related reading from Fishtrail Outfitters
- Kayak Fish Finder Guide: How to Choose and Mount One on a Kayak
- Portable Fish Finder Guide: Wireless, Handheld and Kit Options Explained
- How to Install a Fish Finder: Step-by-Step Guide for Any Boat
- Fish Finder for a Jon Boat: A Simple, Affordable and Portable Setup
Products mentioned in this guide
- Deeper Start Portable Fishfinder
- Fishfinder Deeper CHIRP+ V2 with smarphone mount
- Deeper PRO+ V2 Fishfinder with smarphone mount
Further reading: GoPro official website · Take Me Fishing: how to get started and where to fish
Questions before you buy? Contact Fishtrail Outfitters or browse the shop.