
Every fish finder depends on power, and a good fish finder battery setup is one of the most overlooked parts of a successful install. A weak, shared or poorly wired battery causes shutdowns, noisy screens and ruined days, while a well-chosen, fused and properly connected battery makes sonar reliable and clean. This guide explains how fish finders use power, how to compare lead-acid and lithium batteries, how to estimate the capacity you need, where to put the battery, how to fuse and wire it, how to avoid noise from motors and starters, how to charge and store it, and how to troubleshoot power problems. It is written for anglers on kayaks, jon boats and small fishing boats, and the principles also apply on larger boats.
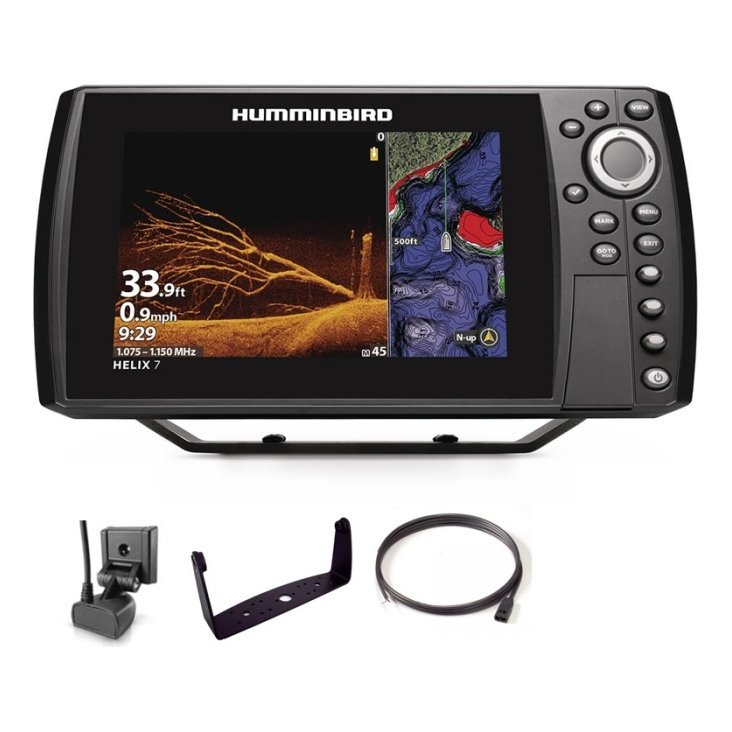
How a fish finder battery supplies power
Typical draw
Most fish finders run on 12 volts and draw a modest current, with larger screens and extra features using more. Check your unit’s specification for its power needs, and add up other devices that share the battery.
Why stable voltage matters
Fish finders need steady voltage. If the battery sags when a trolling motor or other load starts, the display may restart or show noise.
Run time depends on use
Brightness, sonar mode, GPS and other features affect draw. A day of fishing requires enough capacity to run through with margin to spare.
Battery types
Lead-acid and AGM
Sealed lead-acid and AGM batteries are common, affordable and widely available. They are heavier and should not be discharged too deeply for the best life.
Lithium
Lithium batteries are lighter, hold voltage well and allow deeper discharge, which suits kayaks and small boats. They cost more, and you should use a charger designed for them.
Choose a deep-cycle type
Fish finders benefit from deep-cycle batteries, which tolerate repeated discharge, rather than starting batteries designed for short bursts.
Estimate the capacity you need
Add up your loads
List each device and its approximate current draw. Include the fish finder, lights, a phone charger and any accessories.
Multiply by hours
Multiply current by the hours you will fish to estimate amp-hours. Add a safety margin of at least a third, because batteries lose capacity with age and cold.
Check the real numbers
Measure how long your setup runs on a known battery, and use that as a reality check. Our kayak fish finder guide and small boat electronics guide give typical approaches.
Place and secure the battery
Keep it low and central
On a kayak or small boat, place the battery low and near the centre for balance.
Protect it from water
Use a battery box or a dry bag, and keep terminals covered. A loose battery is a hazard, so strap it down.
Keep it cool
Avoid direct sun and heat, which shorten battery life.

Fuse and wire it correctly
An inline fuse near the battery
Fit a fuse on the positive wire as close to the battery as practical, rated as recommended in your manual. It protects the wire and the unit.
Use proper connectors
Crimp or solder connections carefully, and seal them against moisture. Use cable of a suitable size for the length and current.
Keep runs short and tidy
Short, neat wires reduce voltage drop and noise. Our boat wiring basics guide explains the details.
Add a switch if you want
A simple switch lets you isolate the circuit and prevents accidental drain.
Avoid noise from other equipment
Separate batteries
A dedicated battery for electronics keeps sonar clean when you start an engine or run a trolling motor.
Route cables carefully
Keep power and transducer cables apart, crossing at right angles if needed. See our transducer guide.
Check grounding
Poor grounding is a common cause of noise. Make solid, clean connections.
Charging and storage
Use the right charger
Use a charger designed for your battery type, and follow the manufacturer’s instructions.
Charge after each trip
Do not leave a battery discharged for long, especially lead-acid.
Store in a cool, dry place
In winter, store batteries indoors and top up the charge occasionally. See our marine electronics maintenance guide.
Troubleshooting power problems
The unit shuts off or restarts
Check battery voltage, connections and fuse. See our fish finder troubleshooting guide.
Weak run time
The battery may be ageing or too small. Test and replace if needed.
Noise on the screen
Check wiring and consider a dedicated battery.

Safety notes
- Never short battery terminals.
- Use correct fuses and wire sizes.
- Keep batteries upright and secured.
- Dispose of old batteries properly.
- Follow the manufacturer’s guidance for lithium batteries.
A worked example for a small boat
Suppose your fish finder draws a modest current and you also run a small light and charge a phone. You estimate the total load, multiply by an eight-hour day and add a margin. This tells you the minimum capacity you need. You choose a deep-cycle battery that exceeds this figure, place it in a battery box near the centre of the boat, add an inline fuse on the positive wire and connect to the display with a short run of appropriately sized cable. You test the setup at home by running it for several hours, check the voltage at the end and adjust your plan. The test gives you confidence that the battery will last a real day on the water.
Record your results
Write down the test results and the battery’s age. If run time drops over the seasons, you will know it is time to replace it.
Consider a spare
For long trips or remote water, a small spare battery or power bank gives peace of mind. It adds a little weight but removes the risk of an early end to your day.
Power on kayaks: a few extra tips
Kayaks need compact, light batteries, and weight distribution matters. Place the battery low and central, and keep it in a dry box with ventilation as advised by the manufacturer. Run wiring along the hull and secure it with clips. Use waterproof connectors and consider a quick-disconnect so you can remove the display and battery for transport. Our kayak fish finder guide covers the mounting and layout in more detail.
Frequently asked questions
What size battery do I need for a fish finder?
It depends on your unit and how long you fish. Estimate the load and add a margin.
Can I use my starting battery?
It is better to use a separate deep-cycle battery to avoid draining your starter and to reduce noise.
Is lithium worth it?
For kayaks and small boats, the lighter weight and steady voltage are attractive, though the cost is higher.
How do I wire a fish finder to a battery?
Use a fused positive wire and a secure negative, following the manual.
Power it properly
A good fish finder battery setup is one of the cheapest ways to improve reliability. Choose a deep-cycle battery of suitable size, fuse and wire it neatly and look after it. Browse fish finders and accessories in our shop and contact us if you want help planning power for your boat or kayak.
Related reading from Fishtrail Outfitters
- Boat Wiring Basics: Grounding, Fuses and Clean Connections for Electronics
- How to Install a Fish Finder: Step-by-Step Guide for Any Boat
- Fish Finder for Pontoon Boats: Mounting, Power and Transducer Tips
- Fish Finder Transducer Guide: Types, Mounting and Getting a Clear Signal
Products mentioned in this guide
Further reading: Take Me Fishing: how to get started and where to fish
Questions before you buy? Contact Fishtrail Outfitters or browse the shop.

